


You’re married, yay! It’s time to see your love story unfold in an heirloom made just for you. Picking colors, material, and of course the pictures are all laid out here to help ease into designing your ideal wedding album. Sit back and grab a cup a coffee as you scroll through how to design your album!
THE DESIGN BLUEPRINT
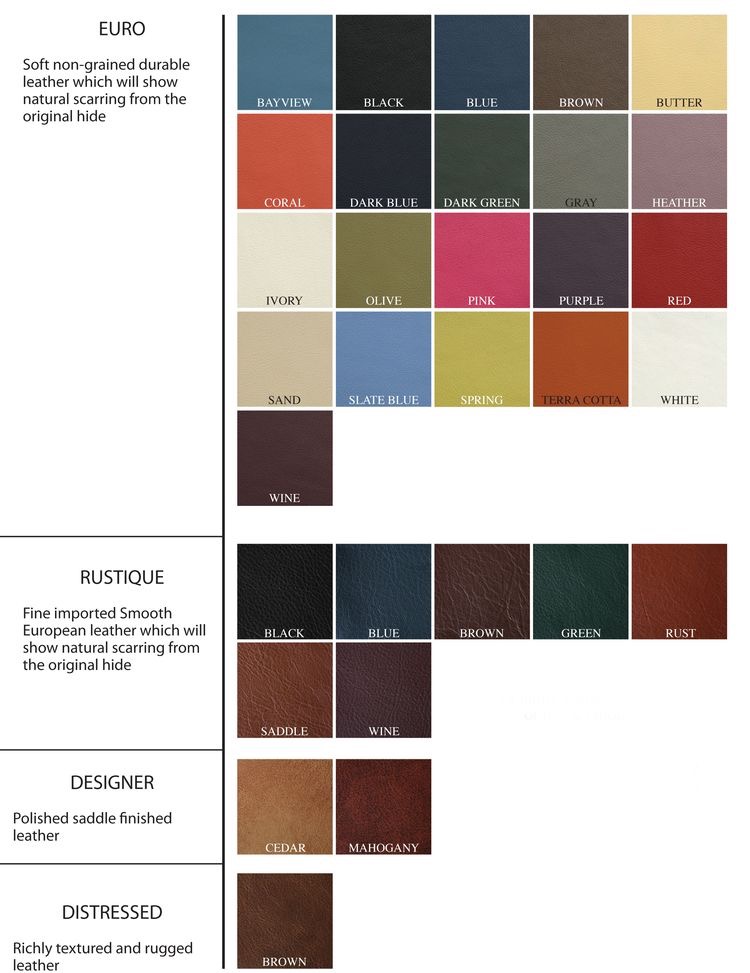
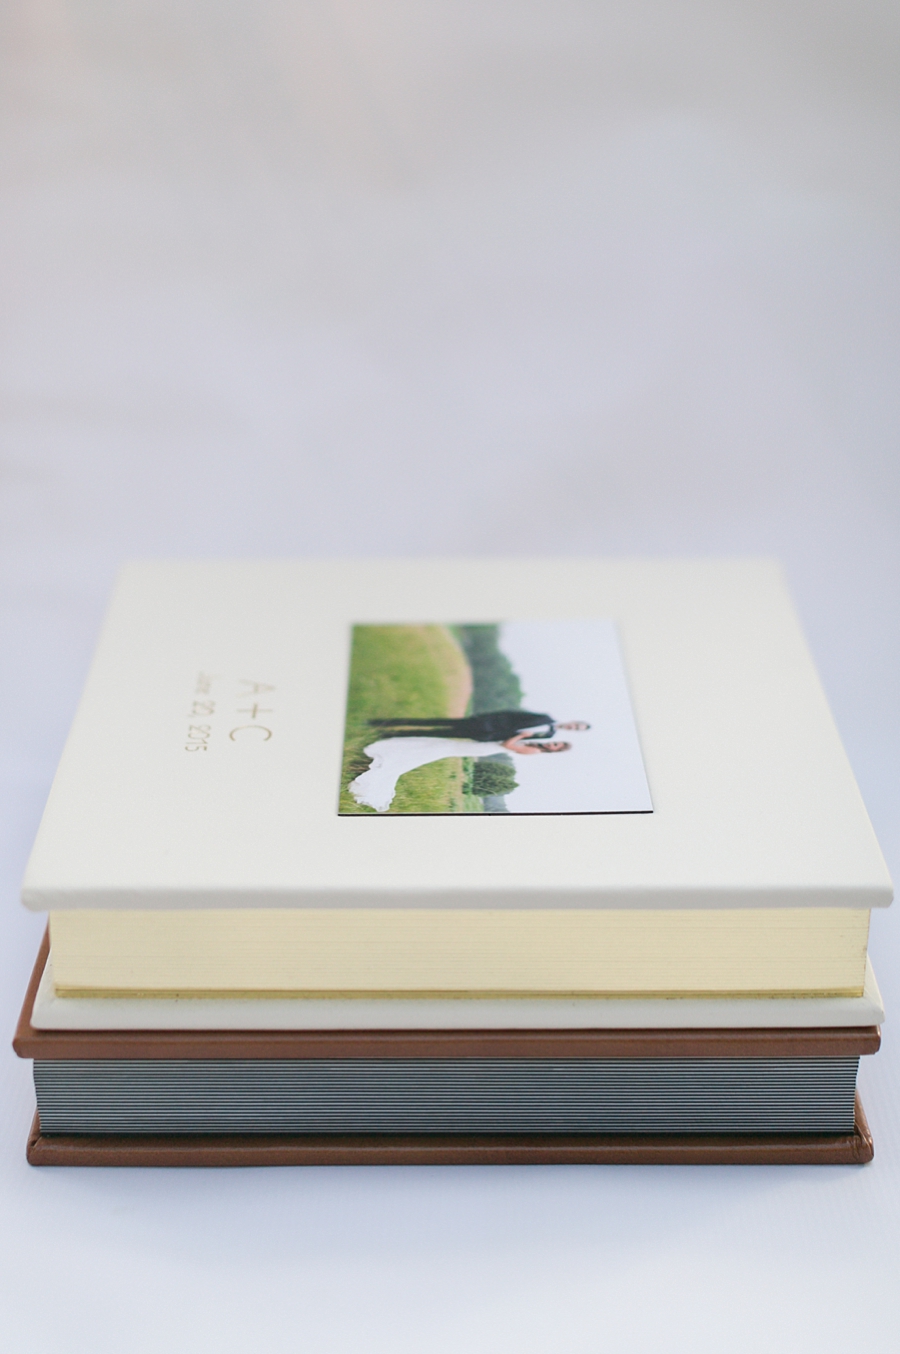
Step 1: Choose Your Cover Color
The color of your album should be the very first thing you decide. Do you want to go with a traditional brown or black, or choose one of the fun colors from your wedding, like slate blue or coral! There is no right or wrong, just make sure to pick something you’ll love for years to come!
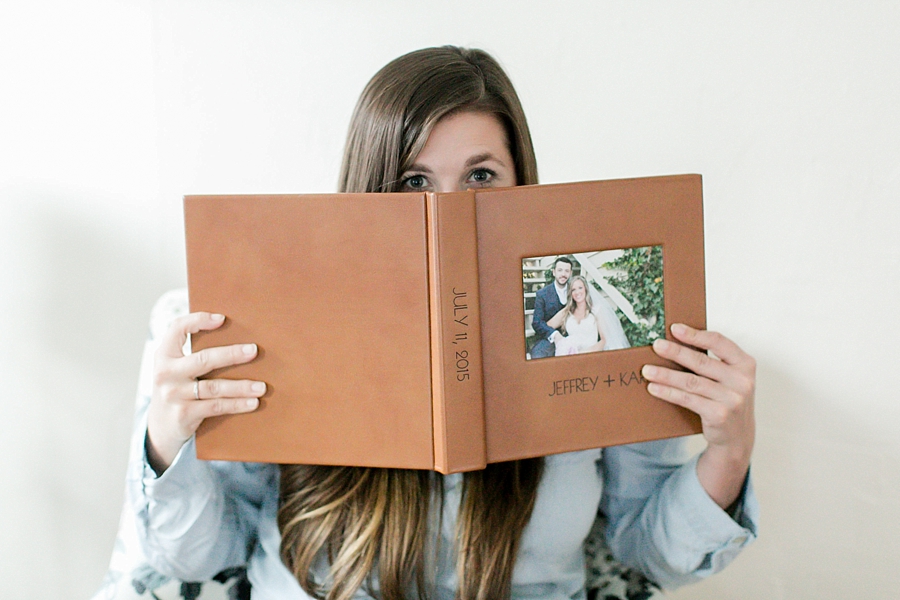
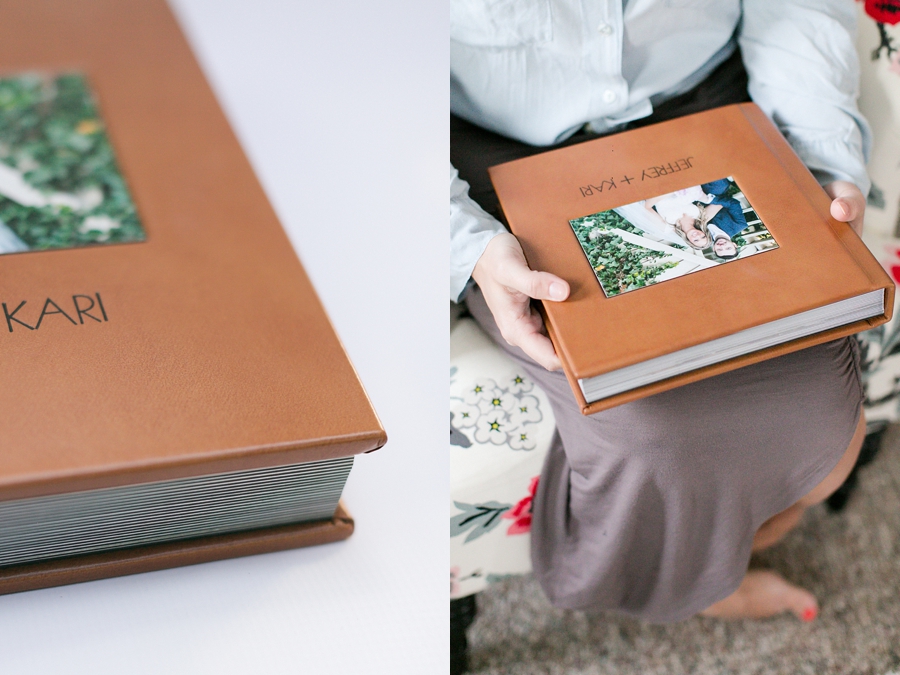
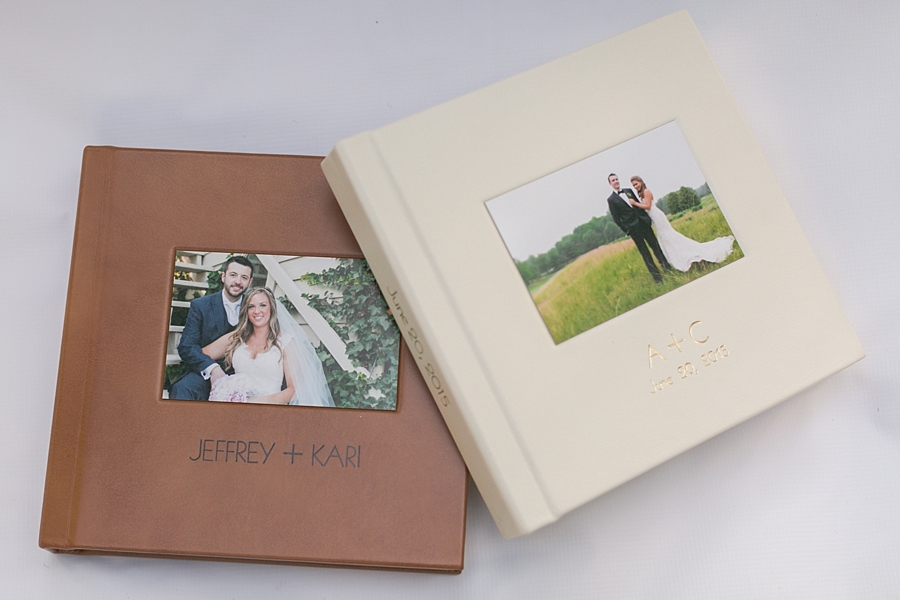
Step 2: Choose Your Cover Photo
The cover photo should be your favorite portrait of you and your honey on your wedding day. ????
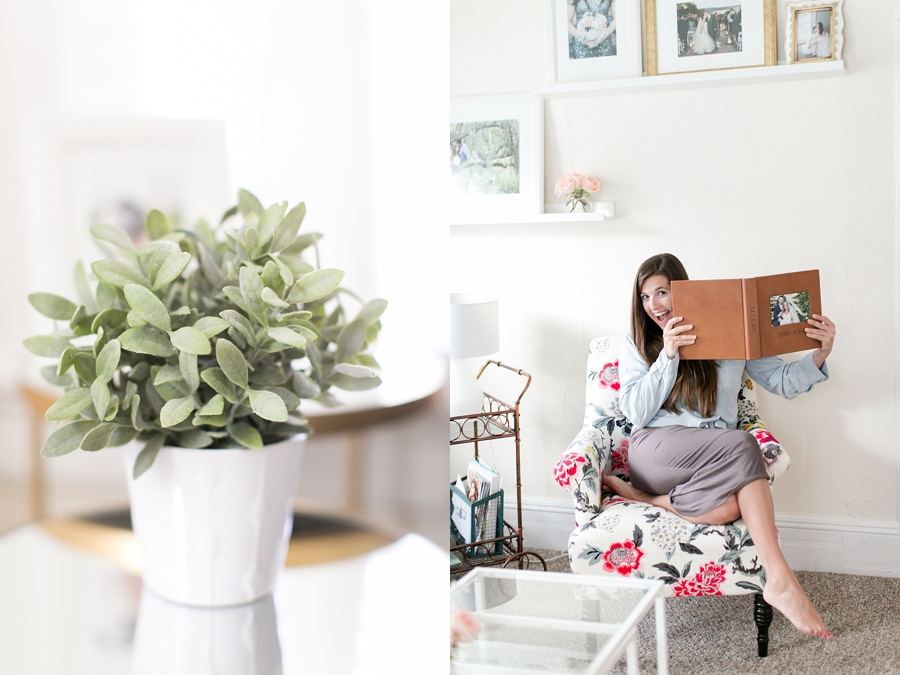
 Step 3: Choose Your Design Path
Path 1: Photographer’s Choice- A Fresh + Clean Look
Designing albums is so fun! In fact, I photograph the details and portraits on your wedding day with your album in mind, looking for consistent colors and light. If you like, I can choose the photographs for your album, picking images that will tell the story of your wedding in the most beautiful way. To make sure your favorites are included, I will ask you to pick out your top 10 images, selecting only couple portraits and family portraits and a few from the reception. This will ensure the most important photos are included, while leaving me the artistic freedom to tell the story of your gorgeous day with a fresh, clean design.
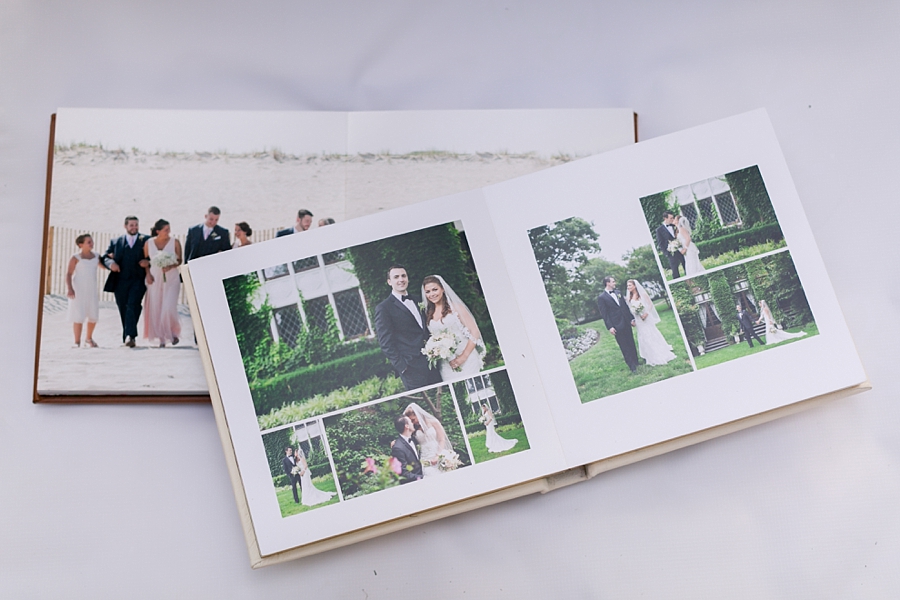
Path 2: Couples Choice- All Your Memories
You know your favorite photographs from your wedding and can’t wait to see them in your album. GREAT! From your personal gallery, please star 60-80 of your favorite photographs. I will design a pretty album with the pictures you have chosen, telling your story in a cohesive way. Remember, you will want to include images from ALL the important moments on your day. Need some suggestions? This is a great guideline to follow when selecting your images:
PHOTO PICKING GUIDELINE
 Girls Getting Ready Details– 1 spread (4 photos)
 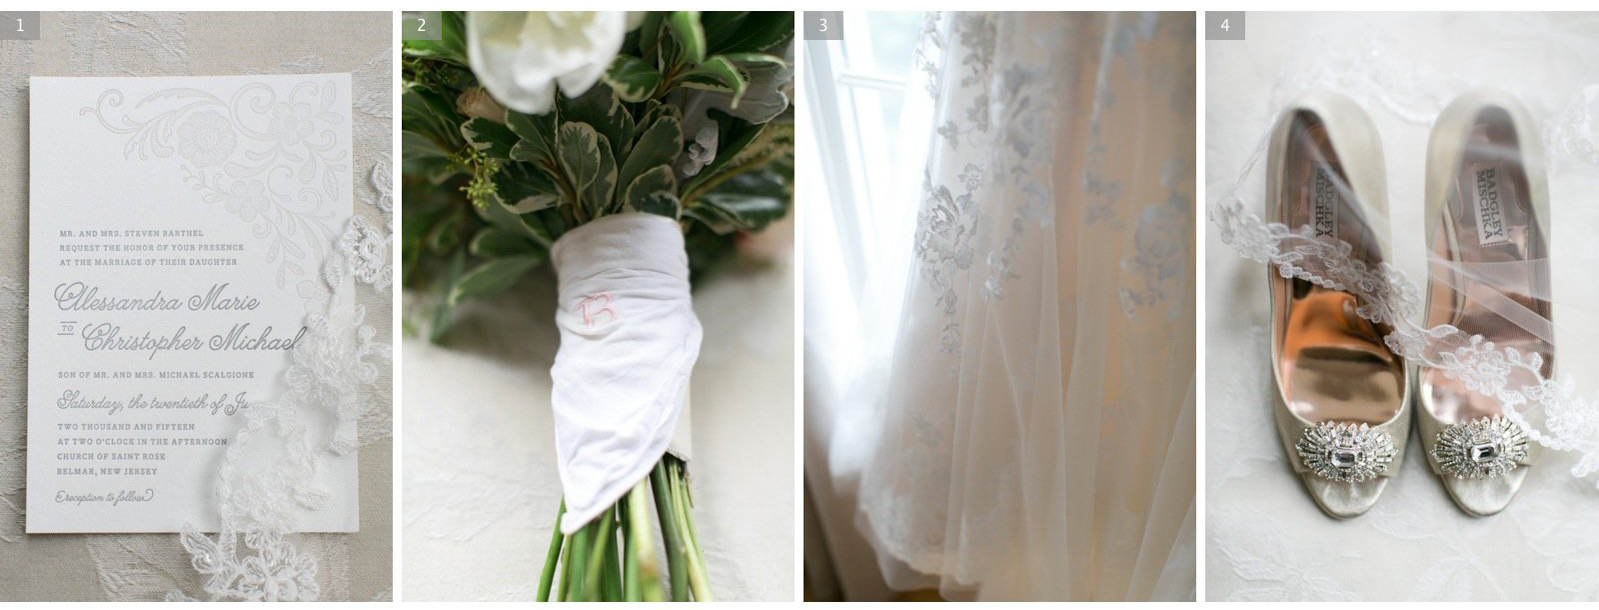 Girls Getting Ready- 1 spread (4 photos)
 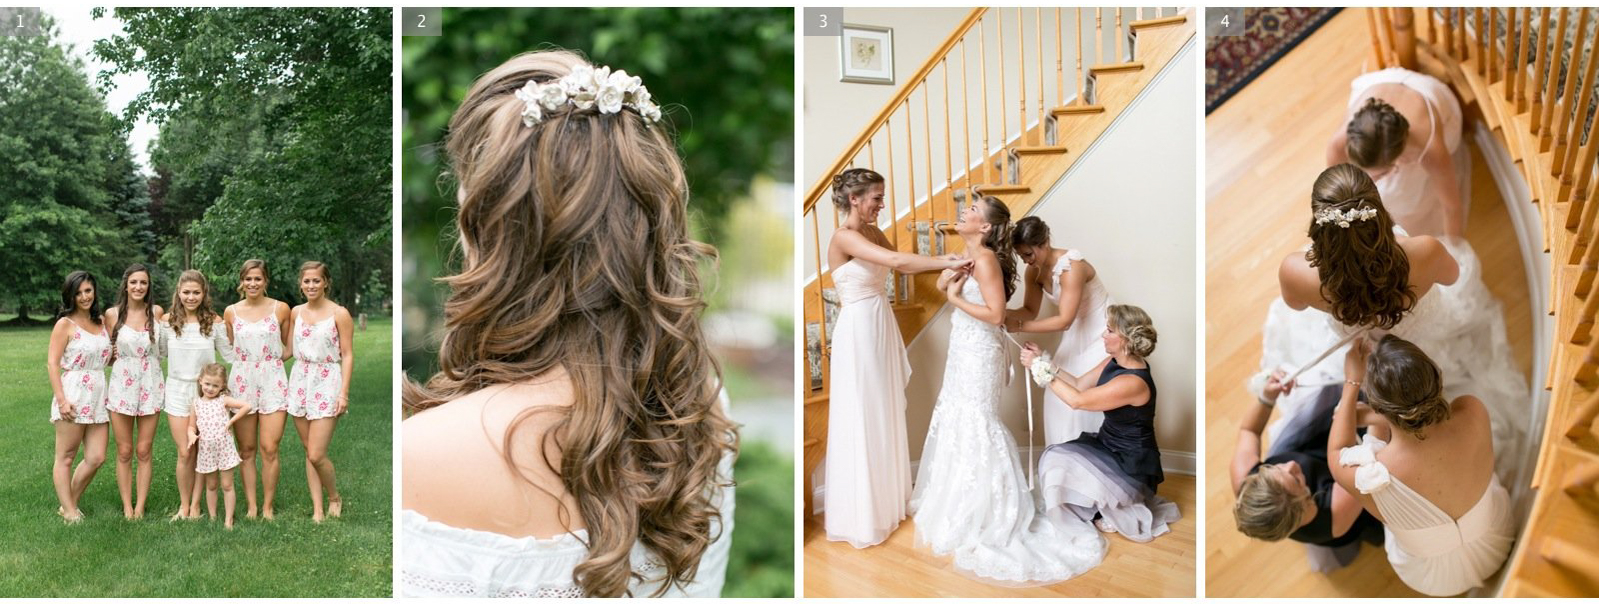 Guys Getting Ready- 1 spread (3-5 photos)
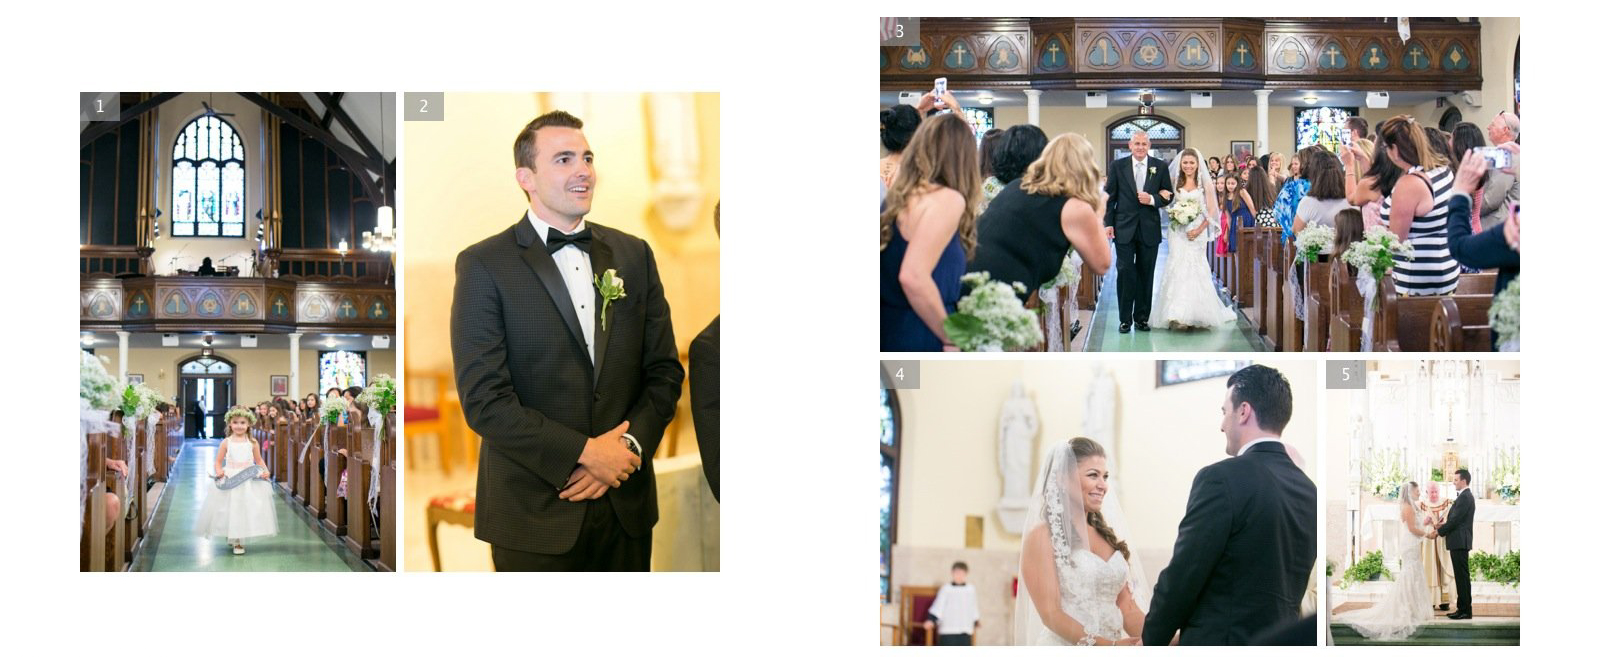
 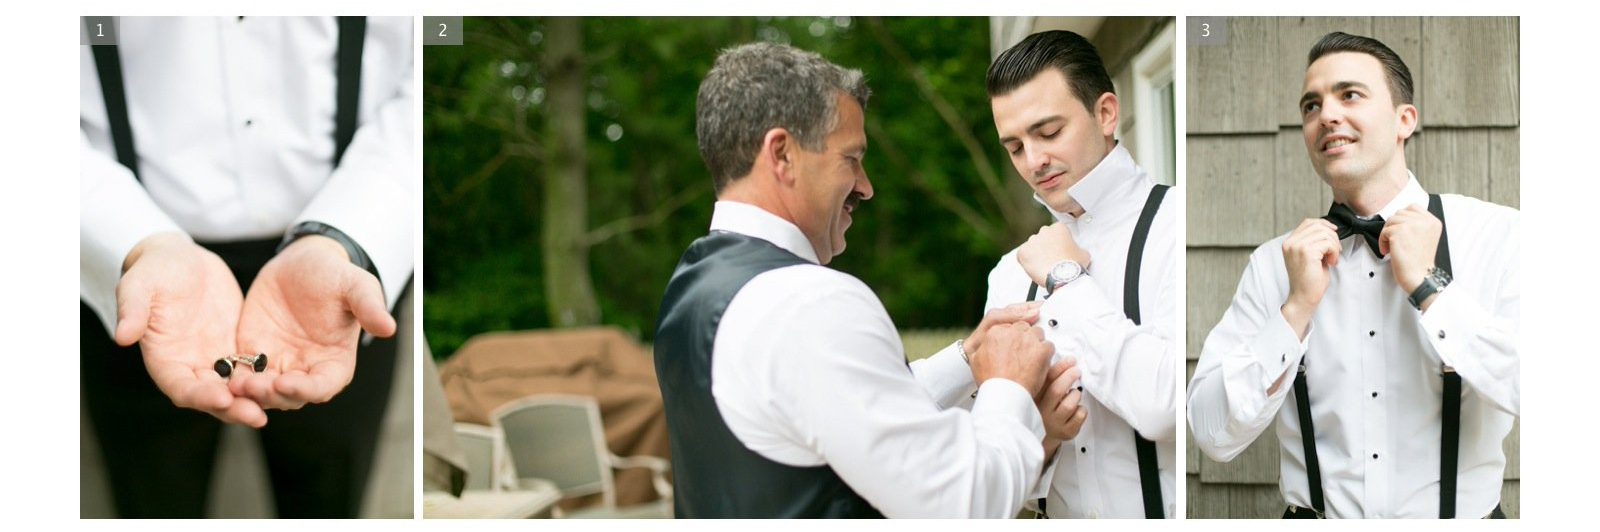 Ceremony- 2 spreads (8-12 photos)
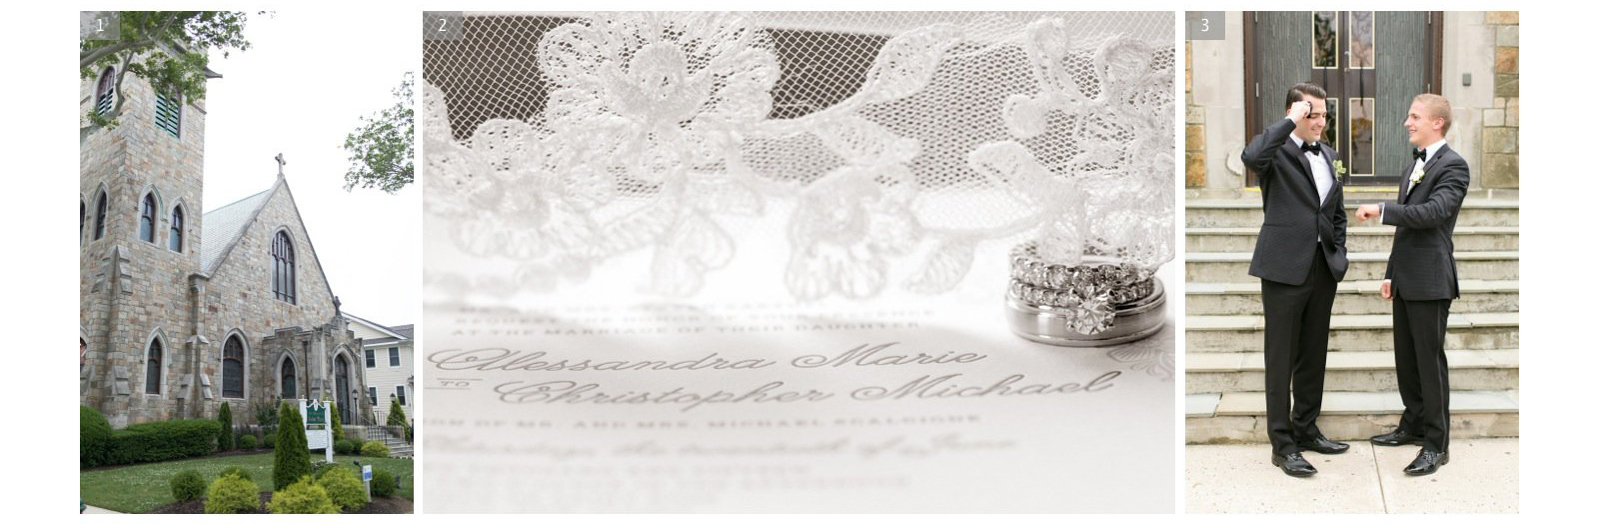
 Family Portraits- 2 spreads (6-8 photos)
  Bridal Party- 1 spreads (4-6 photos)
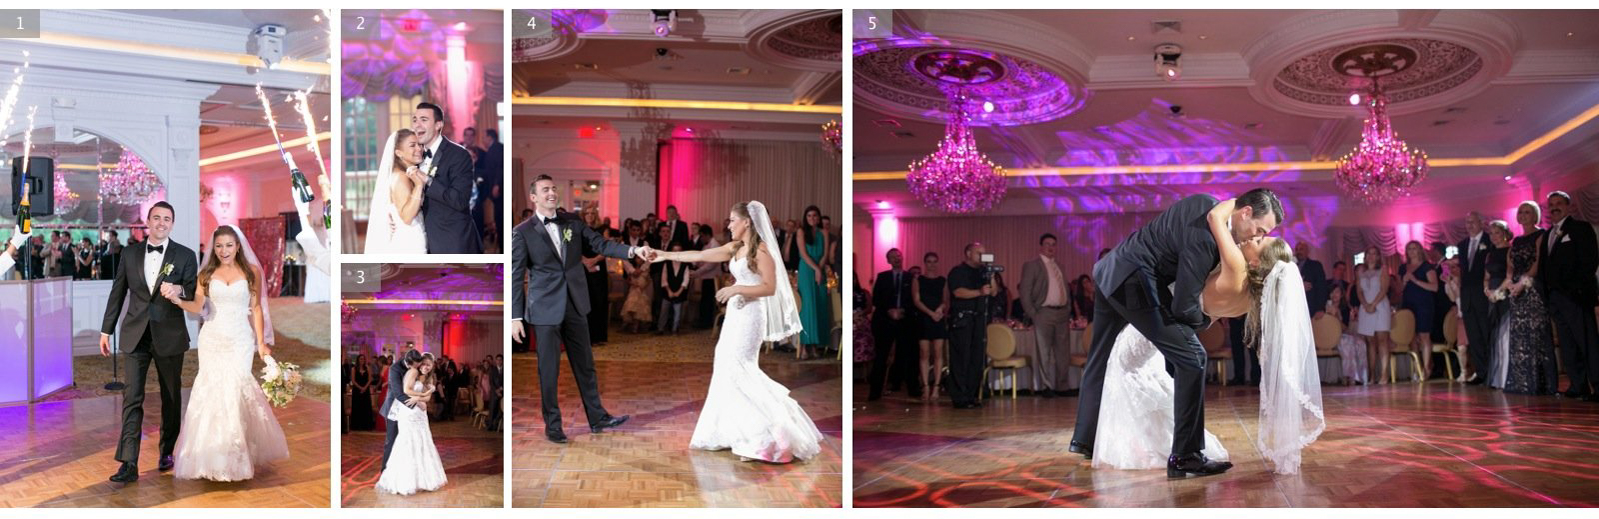
 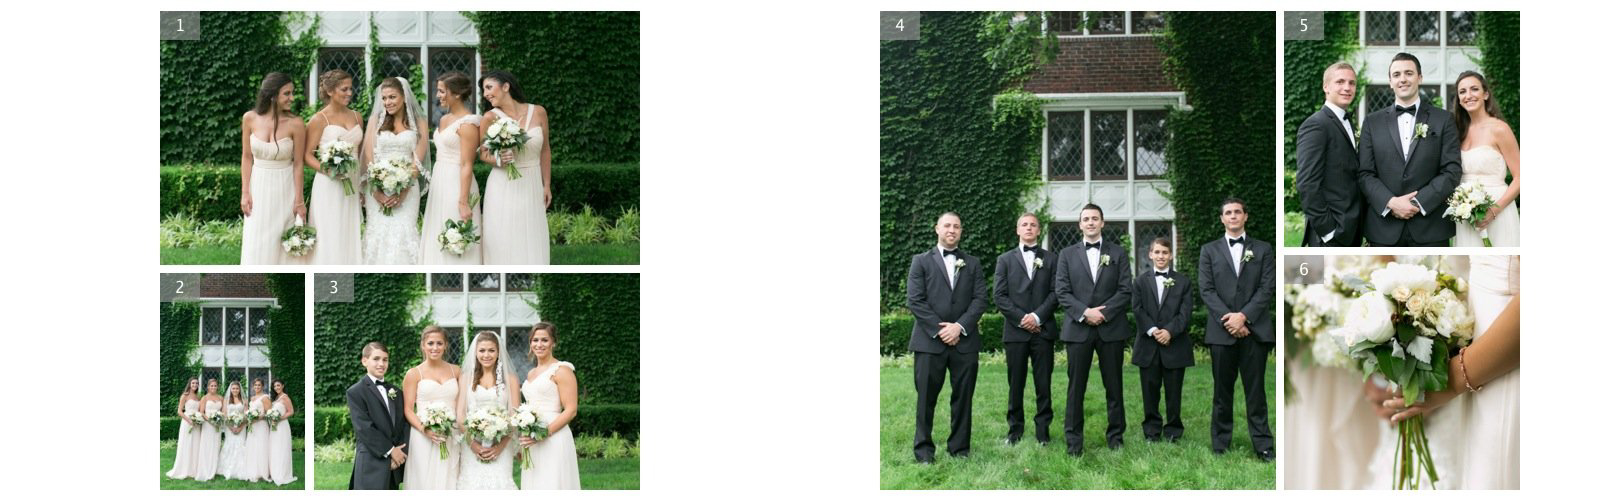 Couple Portraits- 2 spreads (6-10 photos)
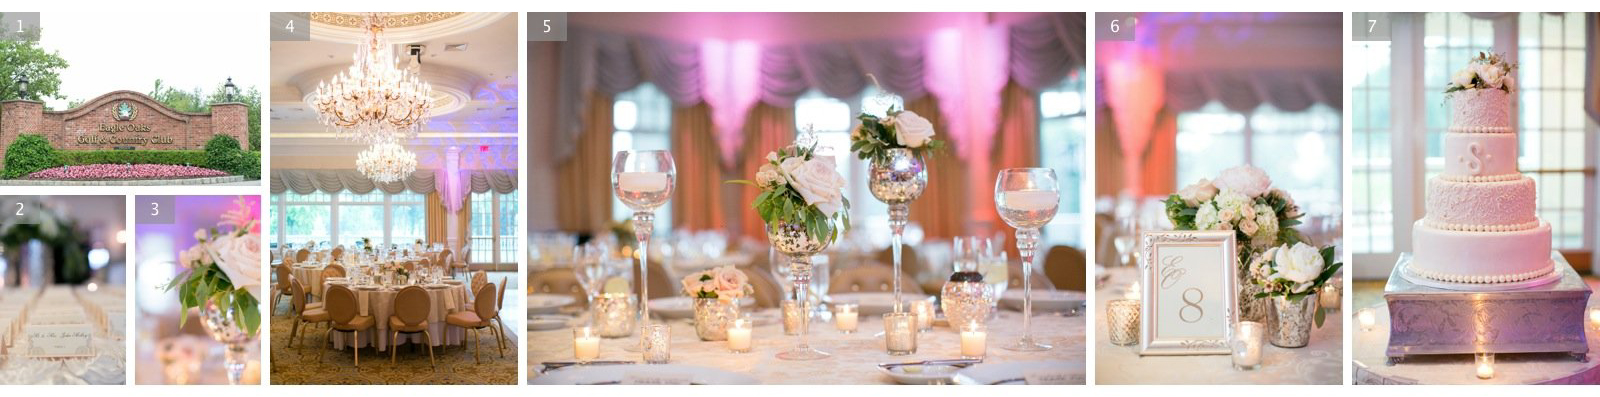
  Reception Details- 1 spread (6-8 photos)
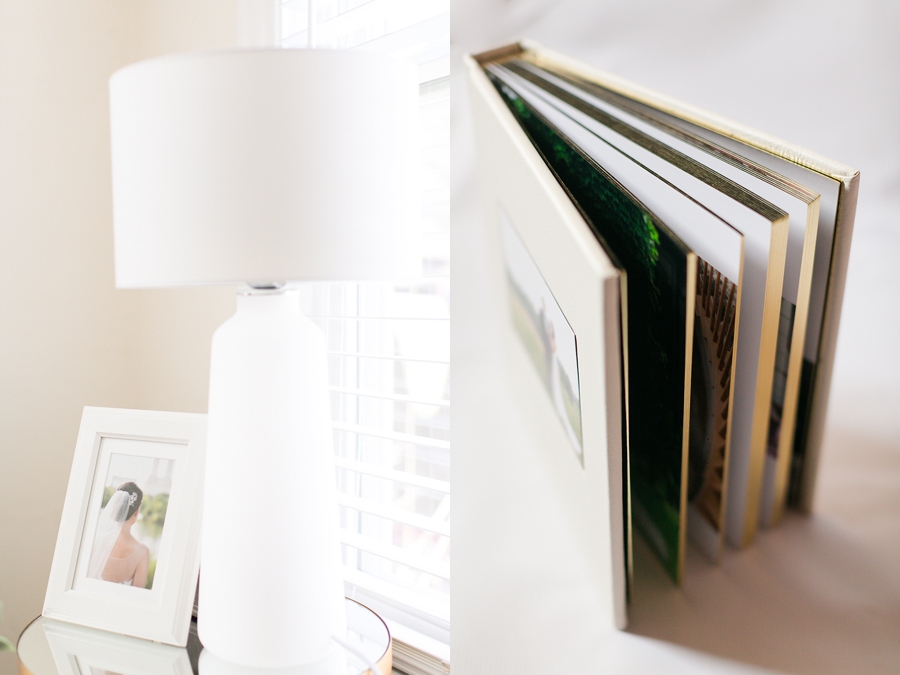
Step 4: Review Your Album
Whether you choose path one or path two, you will have the final approval on your album design! Once your design is ready, I will send you a slideshow of your pretty pages in your pass gallery. Review your wedding album together, and make sure you both COMPLETELY LOVE IT! If you want to change out any of the photographs, this is the time to do it before going to print.
Step 5: Final Approval
You LOVE everything about your album! Send me an email letting me know it receives your stamp of approval and I will send it off to be printed. Once your album is ordered, no additional changes can be made. The only thing left to do… pop a bottle of champagne when your gorgeous package arrives at your front door!
I hope these album design suggestions have helped! If you have any questions, please feel free to reach out to me through email at hello@mekinasaylorweddings.com, or leave your comment in the box below. Have a wonderful day!
filed under
September 20, 2016
POSTED ON


